Showing posts with label glue gun fun. Show all posts

April 2, 2014

DIY Cherry Blossom Branches

Yesterday I showed you my spring mantle complete with its lovely cherry blossom branches.
Well, crafting them was totally easy peasy, so I figured I'd share the details with you.  
To make them, you'll need:
  • pink tissue paper (about 5 sheets)
  • scissors
  • hot glue gun
  • branches
To start, just stack your tissue paper and then cut out flower shapes.  I didn't use any kind of guide but just made a rough "flower."  You can tell by looking at these just how rough they were!  Luckily, it doesn't end up mattering! 
Once the shapes are all cut out, just gather each one in the center, twist it and gather it.  Again, no science to this...just twist, gather, and scrunch.  That's it!  
Take a dot of hot glue and smack them on the branches.
I told you these were easy!  And such a perfect spring decoration, right?  


September 23, 2013

Desk Nook Phase 1

***So it turns out I accidentally shared phase 2 of our desk nook before I shared Phase 1.  Well, here's the first part...of which you probably already caught glimpses if you read last week's phase 2 post.  Oh well!***

A few weeks back while attempting to tame the chaos that had become our playroom, we decided to move our desk into the closet, thus freeing up precious real estate in the actual room.  Although it was kind of a last-minute decision, it's actually really working for us. So now that we know the desk is there to stay, we have some major work to do to make our nook look a little less blah and chaotic:
The first step I took was to go ahead and paint the inside of the closet the same gray as the rest of the room.  Luckily, I had some leftover from when I had painted a few years back, so it was pretty straightforward.
Once that was done, I got to work dealing with the space above the shelf.  In looking at images of desk closets (there's tons on Pinterest if you're interested), I found that I was drawn to those that had a fun pattern on the back wall.  I considered painting stripes...or chevron...or some other pattern, but honestly, I've been there, done that and wanted something different here.  My next thought was to maybe do some wallpaper or something back there, but from what I could tell, cool wallpaper is pretty darn expensive.  And so I started looking at the potential of using fabric...and that's when it dawned on me!  
Instead of just hanging up a big ole piece of fabric, I should cover some cork with the fabric and achieve two goals: fun pattern on back wall AND a place to tack up inspiration, announcements, reminders, etc.
So that's exactly what I did.  I picked up a roll of cork at AC Moore which happened to be just about the exact measurements I needed for our wall (minus a couple inches on the side, but oh well) and a yard of fabric.  I hot glued the fabric to the back of the cork, folding the corners like a present and when I was done I had a fabric-wrapped piece of cork...that I promptly nailed to the wall.
You may have noticed that with the fabric in place, the shelf and other clutter were too much, so I also did some paring down in there.  But looking at that mess, I obviously had some more work to do.  Have no fear, I quickly took action to tackle Phase 2.  I'll be back soon with those details...


August 15, 2013

DIY No-Sew Roman Shade

At the far end of our house, there is a door to our backyard.  And on that door there is a window (e i e i o...anyone?!?).  Well, said window has been covered with very bulky faux wood blinds since we moved in...the same faux woods blinds that are on every other window in our house.  And while they work on every other window (for the most part), long ago I had decided a roman shade would be a much better fit on this little window.
I had seen tons of tutorials for faux roman shades using dowel rods, tension rods, etc, but unfortunately I knew my paranoid hubby would want something that actually closed instead of just looking like it would.  So I researched...and I came across tutorials using mine blinds.  At first, I kept looking because I didn't want to spend too much on this project, but one day at Home Depot I happened to come across mini blinds.  Do you know how much they are?!?  $4!!!!  Um, sold...they were in my basket faster than...I can't come up with a good analogy, but you get the idea.  I happily took them home.
Aside from the mini blinds, I only needed a yard of fabric (although my window was so small I could have probably gotten away with even less fabric) and my trusty glue gun for this little project.
With everything home and about an hour of time to spare, I got to work.  First...obviously... I removed all the old window hardware.  With it bare, I got to work on my mini blinds.  I don't know how many slats are on a set of mini blinds, but there are way more than the 4-5 I wanted.  So first step was to remove the unnecessary slats.  At the bottom there are two clips holding in the cords.  They need to be removed, although store them somewhere safe because you're going to need them again at the end.  The tutorial I had read said to cut the ladder cord, but to leave the pull cord (single string) alone.  Well, I had to cut both...at least at the bottom...in order to remove the extra slats.   At the top, though, be very careful to only cut away the ladder cord and keep the single pull cord in tact otherwise your blinds won't be able to raise and lower when you're done.  When I was all done with the cutting, ladder cord removal, and extra slat removal, my mini blinds looked like this.


With the mini blinds ready, it was time to get my fabric ready.  I measured the window width, added about an inch on each side (top and bottom too) and then cut that out of my yard of fabric.  I was out of iron-on hem tape, so I just used hot glue (seriously can I tell you how much I love hot glue) to hem up the extra inch on all four sides.  And once it was all nice and neat and ready, I laid the mini blinds on top of the fabric.

I guesstiamated that each slat was evenly spaced and then got to work using my oh-so-trusty glue gun to attach them to the fabric.  I used hot glue completely across each slat, except for taking special care not to glue down the pull cord on either side.
Once it was all done and had had time to dry, I put them back up on the window and stepped back to admire my handy work.


Such an easy project, and I am so happy with the results.  The fabric is such a happy addition to our hallway, and the extra light the window now lets in really brightens up that whole end of the house.  Oh, and it's totally a good thing, I went with a shade that could actually lower because, as predicted, Josh was down there making sure within two seconds of arriving home the first day it was up!


July 10, 2013

A Little Ottoman Upcylce

 July is bedroom deep cleaning month in our house, which happens to be a tad bit more exciting to me than some of our other deep cleaning projects.  The main reason for that is that in between the wall washing, under bed vacuuming, and thorough dusting, I am also taking the time to address some of the main problem areas in each of our rooms (read: I get to do projects!).
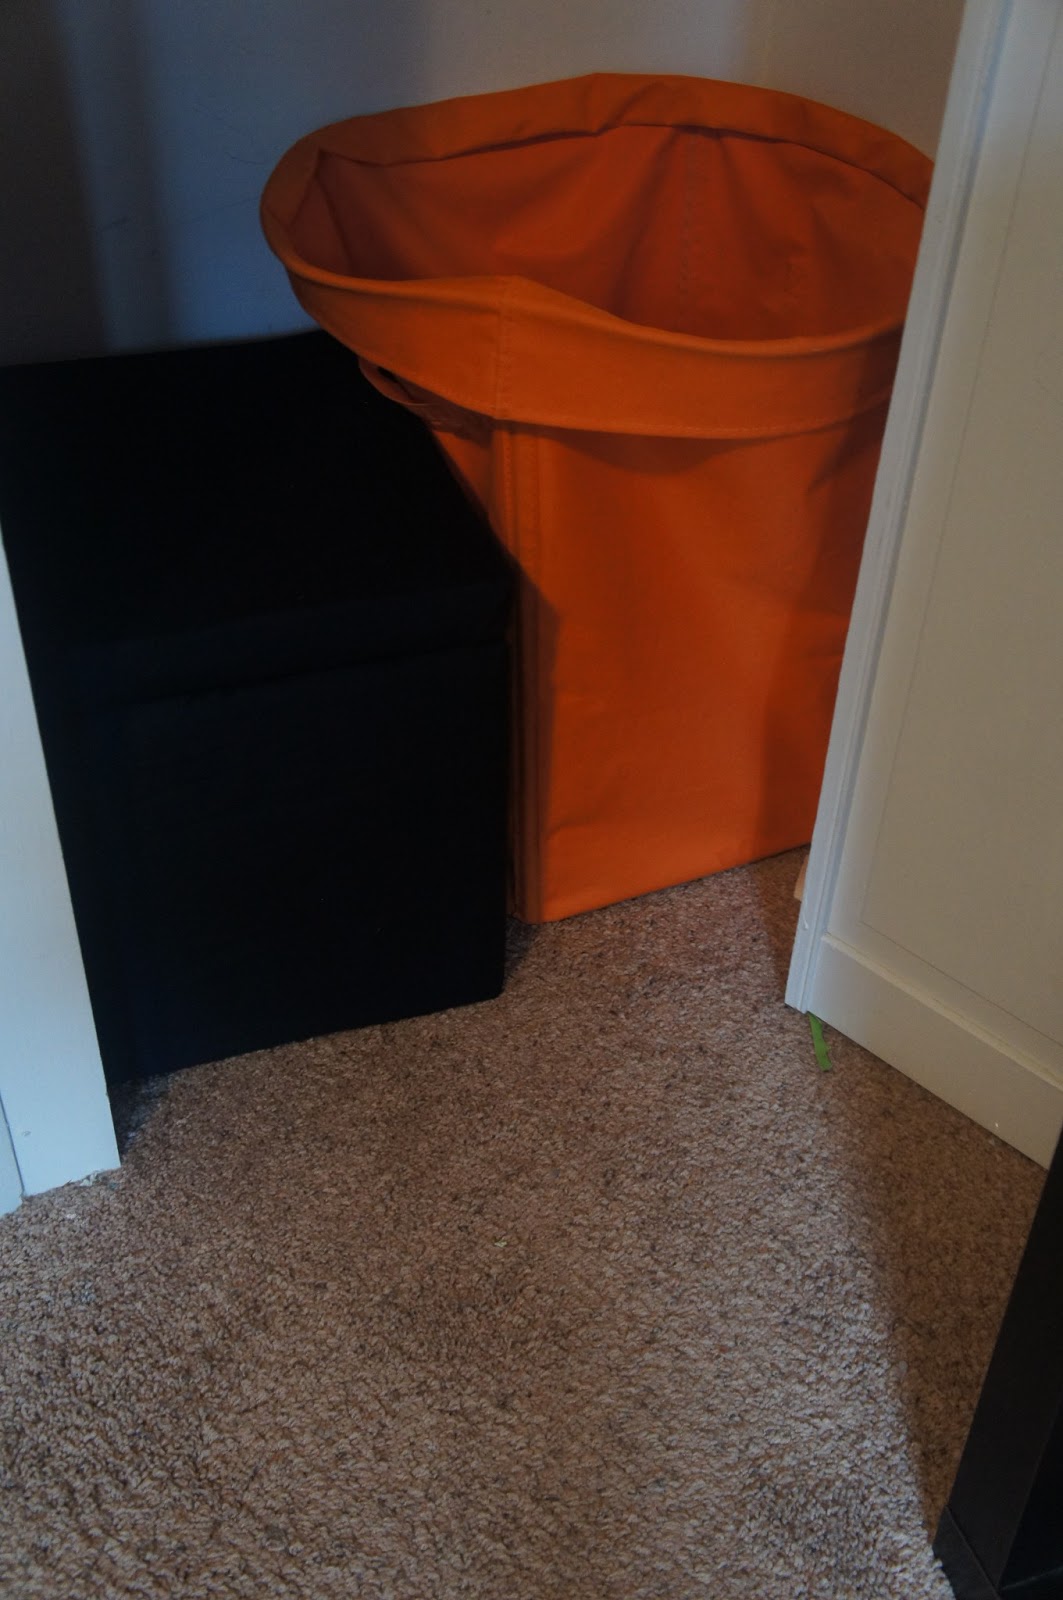
Colton's room actually has quite a few areas that need addressed, but one of the most pressing/annoying for me is his shoe storage.  They used to be stored in an orange basket on top his dresser.  But as his shoe collection has grown, the shoes no longer really fit in that little orange basket, so there are always shoes spilling over.  Plus, now that he technically gets himself dressed each day and has to reach for his shoes, he tends to just knock the whole basket down...and not bother to put the shoes back in...so they just end up everywhere.  So I needed something larger and lower to the ground so my big boy can actually get to them himself.
I had a couple of these ottomans down in the playroom that weren't really serving a purpose, and it hit me that one of them may just be the perfect solution.
Large enough to store a bunch of shoes: check.  Easily accessible for my boy: check.   The only problem for this perfectionist: the aqua color didn't go with Colton's navy blue/orange color scheme of a room.
Of course I could have bought some fabric, but I'm a little too impatient and cheap for that.  Instead, I just took down Colton's current curtains (a plain navy set that are also on the list of things to be dealt with in this deep cleaning!), and used to them to recover the ottoman.
Using my trusty glue gun, it was really such a breeze of a project.  I started on the bottom by gluing the fabric tightly in place around, folding the corners like gift wrap as I went.
Once that was secure, I pulled it real tight and repeated the process on the top of the base, cutting off any excess.  And then, of course, I had to do the same thing to the lid.

And now we have a navy blue ottoman.
Perfect for storing a collection of little boy shoes
I thought about jazzing it up a bit, but the current plan is just to store it in his closet, so as much as it pains me, I kind of felt like it was a waste of effort!  
What do you all think?  Leave it as is?  Or give it a little more TLC?!?


December 13, 2012

Handmade Holidays: Stocking Holders

It wasn't too long ago that it was just Josh and I in our household to celebrate Christmas.  A few years into our relationship, we got Chipper, and it was then that I went out and bought our little family a set of three reindeer stocking holders for our mantle.  Fast forward a few more years, and with the addition of our two beautiful boys, we obviously need more than three stocking holders (we actually need five for all you math whizzes out there!).  So, what does a good DIYer do?  Right...I made my own.
And as any good tutorial should start with, let's begin with the supplies you'll need:
  • 2 x 4 piece of wood, cut into 5-inch sections
  • paint of your choice
  • scrapbook paper of your choice
  • mod podge
  •  cabinet knobs
  • hot glue gun and sticks
I'm sure the guys at Home Depot run when they see me coming, but I always recruit them to cut my wood for me.  So, I started with my sections already cut.  If yours aren't already cut, obviously that would be the first step!  But once they are, get to work painting them whatever color you choose.  Allow the paint to dry and then mod podge on your scrapbook paper of choice to the front of half of the wood pieces.  Then, allow that to dry.
Once everything is good and dry, use your hot glue gun to attach two of the wood pieces together.  And then use your glue gun to attach a knob to the front of your stocking holder.  Allow everything to set and then hang your stockings.
I had thought of putting a picture on each holder to mark whose they were, but then reconsidered thinking it would only be cute to have the kids and Chipper's photos up there (nobody really wants to see a picture of Josh and I, including me!).  And then I considered painting an initial on each, but then we'd have two C's (Colton and Chipper), so I backed off that plan too.  So, for now, I'm just going to leave them blank and if some type of inspiration really strikes me, I guess I'll just get on it!


December 11, 2012

Handmade Holidays: Tree Skirt

You've probably seen the easy, no-sew tree skirt all over Pinterest.  I had too.  And considering our former tree skirt was a red/white hideous creation that I had picked up at Target our first Christmas, I have been planning since the end of last Christmas to try my hand at the handmade version (I may have even thrown ours out last year so that I would have to make a new one...shhh, don't tell Josh).  Now, I know this is all over Pinterest, but I'm going to share with you my version because 1. it's slightly different than the others I saw and 2. I always hate clicking on a post that just sends you to another link.  So, here's my version of how to make a no-sew ruffled tree skirt.
First, round up your supplies.  You'll need:
  • painter's drop cloth(mine was 5ftx5ft, but I wish it had been 4ft)
  • crap load of glue sticks...I went through about 3 bags
  • scissors
  • ribbon
  • 4 yards of fabric...you can't really tell from the picture, but mine has a bit of sparkle in the white.  Here's a close up


Once you have done that, set aside a few hours, maybe even spread out over a few days, cause this is going to take awhile (but it's totally worth it!).  And when you're ready to get to work, fold your canvas into a triangle.  Cut off the edges to make it rounded, cut out a portion in the middle for what will be the opening in the center for the tree.  I would show you a picture, but I totally botched mine and ended up with holes in the middle (that I later covered with fabric) so we'll just assume you all are smarter than I am and can figure it out on your own.  You will also need to make one final cut where the skirt will open up (we'll add ties there later).
With your base all ready, get started cutting your fabric into strips, approximately 2 inches wide each.  The good news here is that your strips hardly have to be exact, so don't worry too much about making them straight or anything.
Once you have the strips, you can get started on the real tedious fun part: gluing your strips.  Just run some glue along the fabric, and as you place it on the tarp make sure you pinch it together in parts to create the ruffles.  Start at the bottom of what will be your skirt, and then slightly overlap the layers as you work your way up.  Here's mine in progress to give you an idea.
After repeating that a bajillion times, you'll have a tree skirt...well, almost anyway!  As the last step, you'll need to create ties, so glue ribbon (about 3 inch long strips) on either side of the opening...I did three of those.  And then you'll have a tree skirt...
As much as I love my white one, I think this would be really great in a fun color or pattern...the possibilities are endless!  Oh, and in case you're curious, I spent about $40 making my tree skirt ($30 for fabric, $5 for the drop cloth, and $5 in glue sticks), but if you had a coupon for the fabric (which they offer all the time!), it could easily be way less.  Plus considering a nice tree skirt can cost you beuacoup bucks, either option is a win if you ask me.