

Well, wrong! Obviously, you need more than just rods to hang curtains. Those rods need brackets. And the rods need finials. And the corners of a bay window need to be dealt with as well. Through some trial and error, lucky guesses, and some research, we did manage to make our conduit work, and hopefully if you're reading this, I can save you a bunch of trouble by just giving you our results!
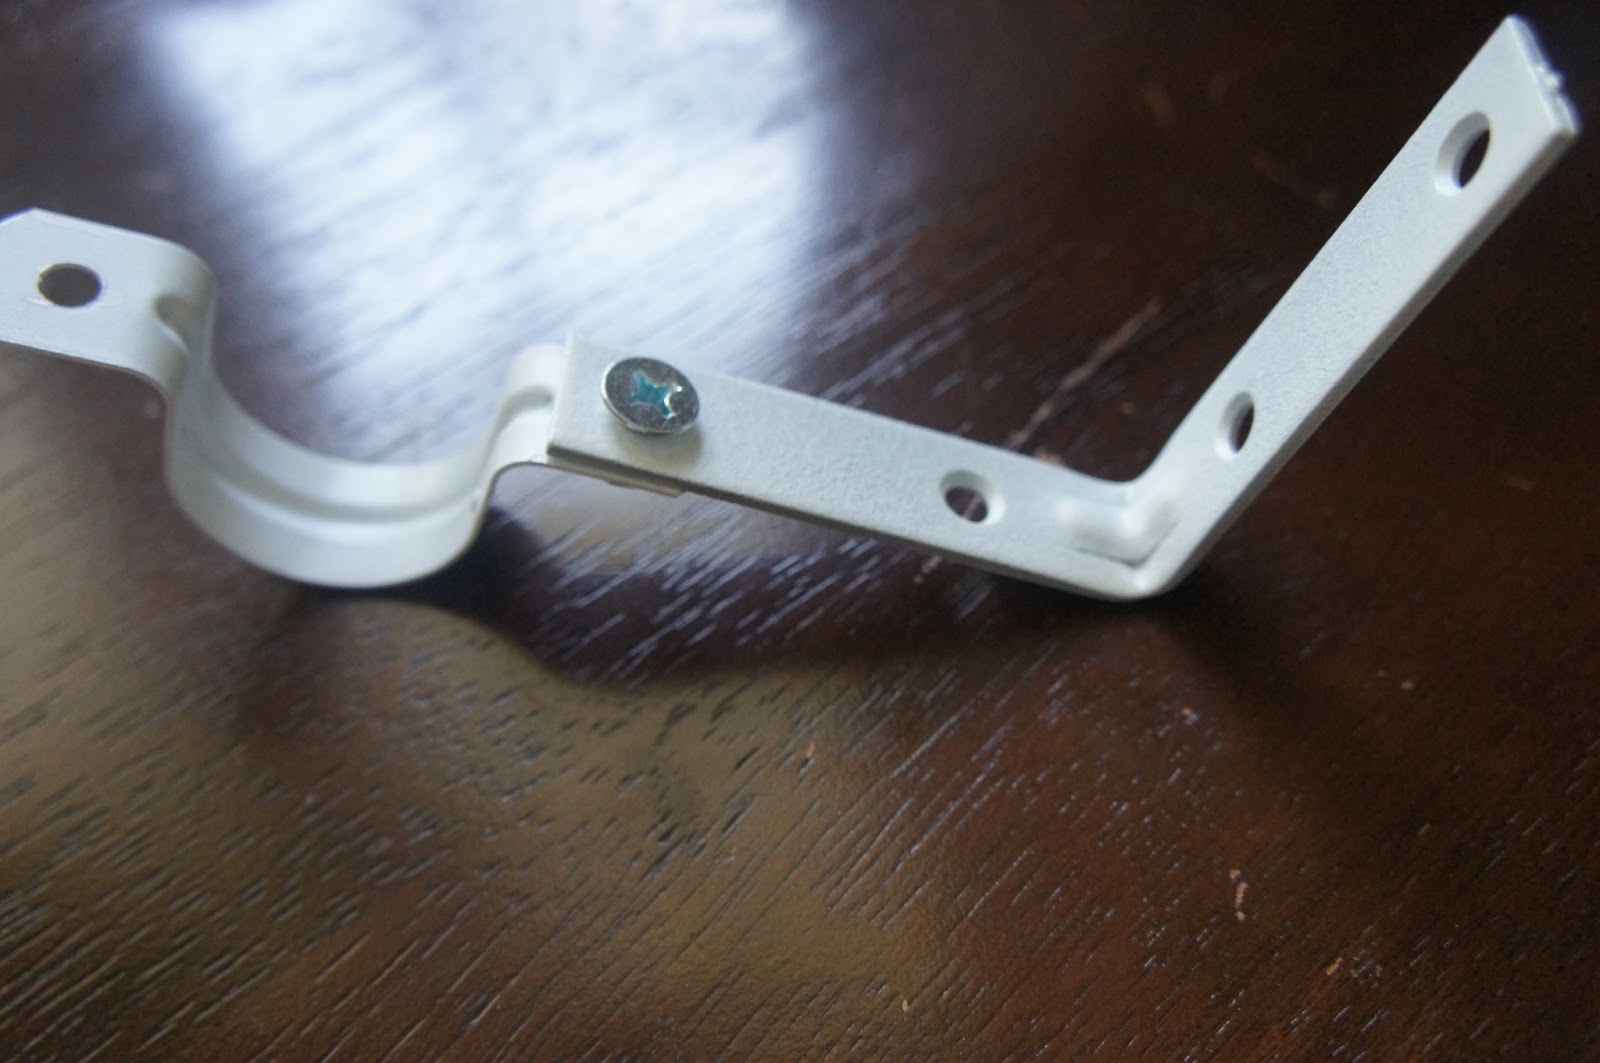
First up: brackets. The problem with conduit is that it is 1-inch round. Most standard brackets that they sell in the window hardware section aren't going to fit that. Our solution: some L-brackets, conduit straps, and nuts/bolts to attach them. I spray painted everything white before taking this picture, but here's what it looked like all put together.
And here's what it looks like actually on the wall. By the way, the screws used to put them in the wall were included in the L-bracket packs (sold in fours), so don't worry about having to buy something else.
Next up: finials. I hit up the wood section of my craft store thinking I'd find something that would surely work. Sure enough, there were 2 inch balls (with a flat base) there that would be the perfect finial! But, most tutorials I had read suggested that you would have to insert a dowel into the conduit or rig up some other system in order to screw the finial on to the rod (as you typically do with curtain rods). Well, I'm lazy...and a big fan of my glue gun...and kind of thought that my best DIY buddy could get the job done. I picked up some flat discs to glue the balls to. Here they are all painted white and put together.

And then I just used my trusty glue gun again to attach the disc part to the ends of the curtain rods.

Looks like a finial, right?!?
OK, so finally the corners. The tutorials I had read suggested two things for the corners: either bending the conduit to the right angle or using PVC corners for them. Well, Josh and the man at Home Depot swore the conduit wouldn't just bend, so we didn't even try that. Instead, I had Josh cut the 10-foot pipe into 3 sections for each window and figured I'd use the PVC corners. Well, those things are only sold in 45-degree and 90-degree angles...neither of which is the angle of our bay window corners. I was a little worried we were stumped, but I kind of figured that the curtains would be hanging in the corners anyway, meaning no one would see if the corners were actually connected. I was even more worried that the brackets would make it impossible for the curtains to hang in the corners.

But, I crossed my fingers and hung the curtains anyway. And IT WORKED!

When it was all said and done, Josh asked me if we had even saved any money by doing it that way. Well, dear skeptical, cheapo husband, here's the breakdown for you (and anyone else interested).
Supplies for one bay window (all prices are rounded for simplicity):
10-foot conduit section: $4
White spray paint: $4
2x 2 inch balls: $4
1 pack wooden discs: $2
4 pack L brackets and screws: $5
4 conduit straps: $4
Nuts/bolts: $3
Total cost: $26 Typical cost of bay window hardware: $50-$80
Pretty significant savings, eh? And honestly, aesthetically, I like ours more than all of the versions I saw in stores! Woo hoo! I just love a successful project!


No comments:
Post a Comment
Make my day...leave a comment